Scenario
Creating Scenario
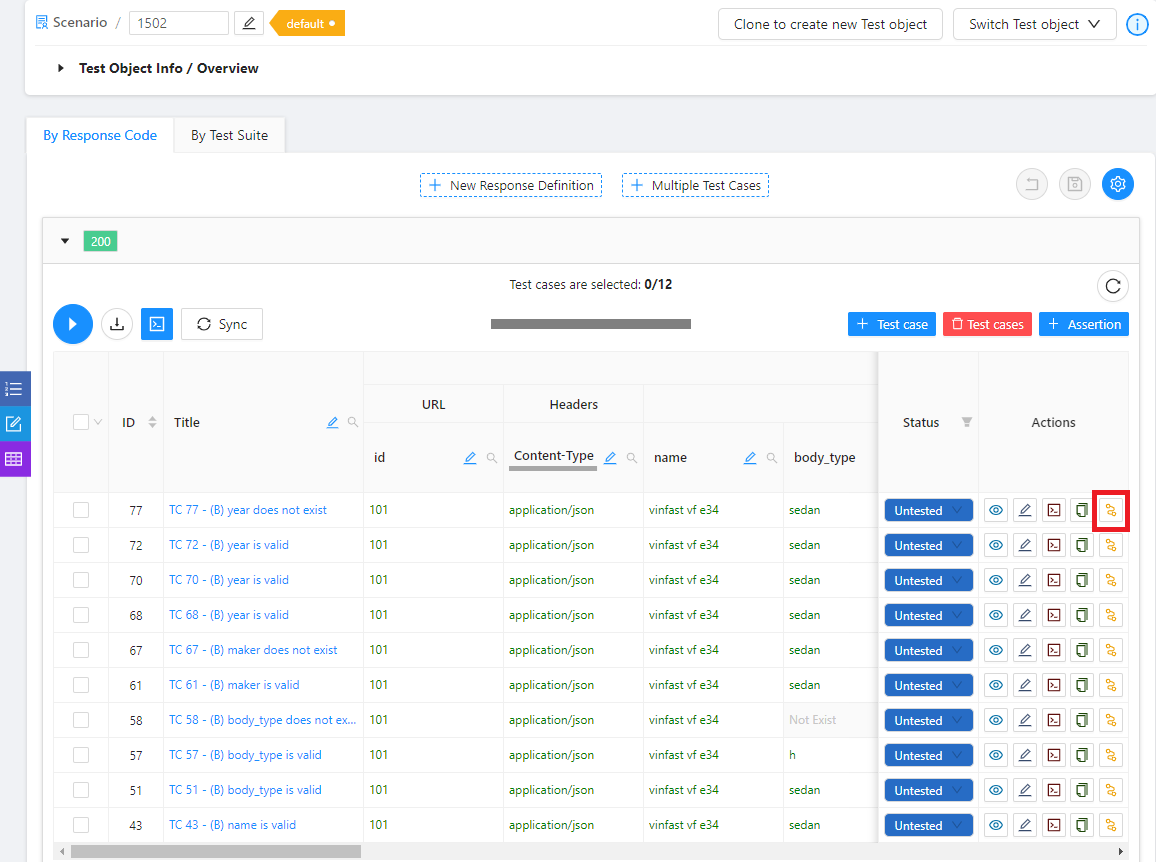
Scenario can be create from Test Case Screen
- Click Scenario icon in the Action column of the test case.
- Enter information of scenario node
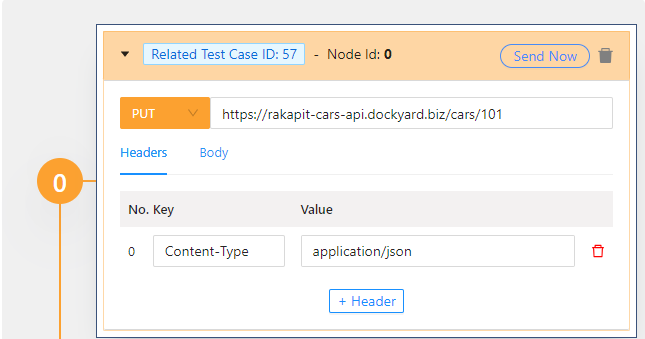
- Main node will be added automatically. This node is created from Test case's information.
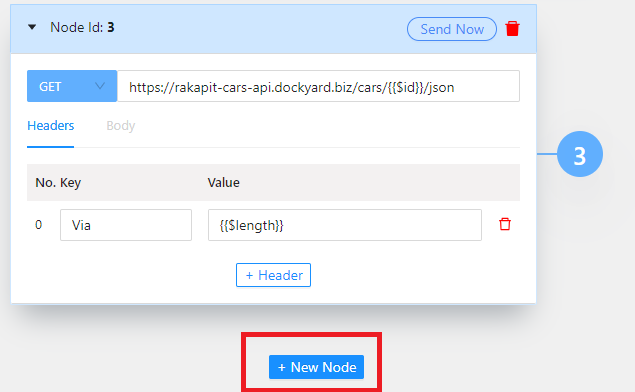
- To add a new node, click 「+ New Node」 button, then enter node's information
about Method, URL, Headers, Body.
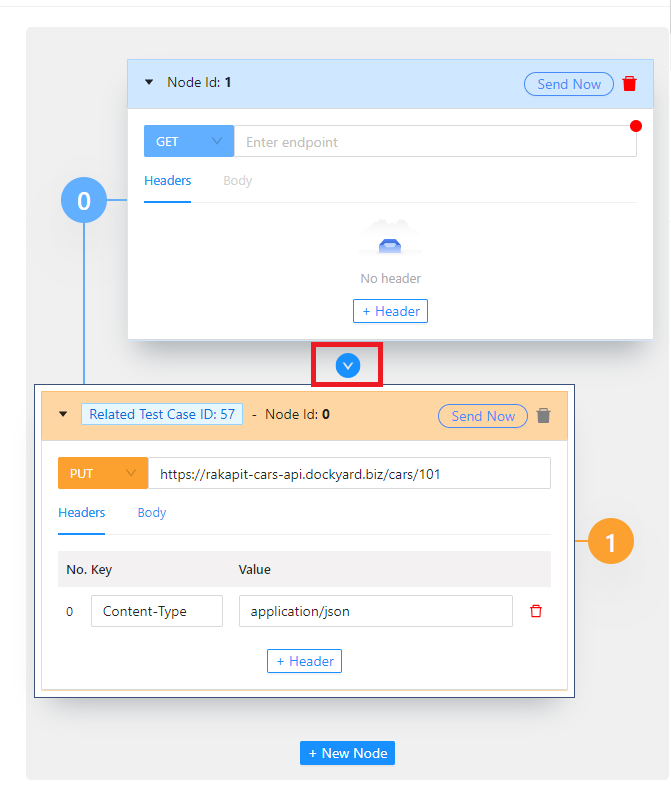
※Max node number: 16 - To change nodes's order, click button like bellow image.
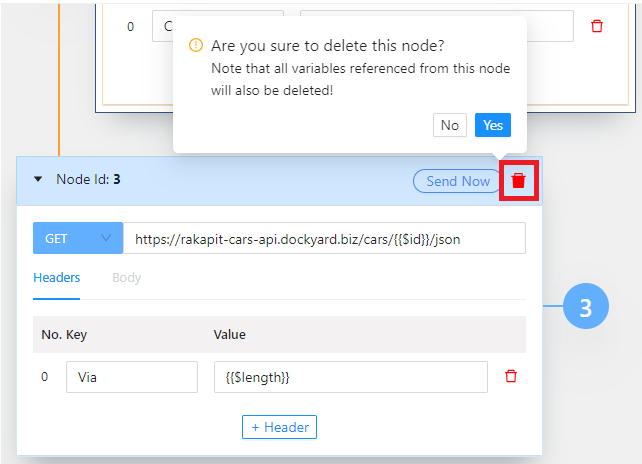
- To delete one node, click icon Delete of that node.
※Can not delete Main node。 - Setting Variables
Variables are the variables that can be used throughout the entire Scenario. Variable can be retrieved from any Node's Response and set to any Node's Request. - Define Variables
※Max variables number: 32 - Enter Variables Name
- Choose NodeId and Location
- Enter JSON Path
Ex: id.name{ "id": { "name": "John" } } - Variable Reference
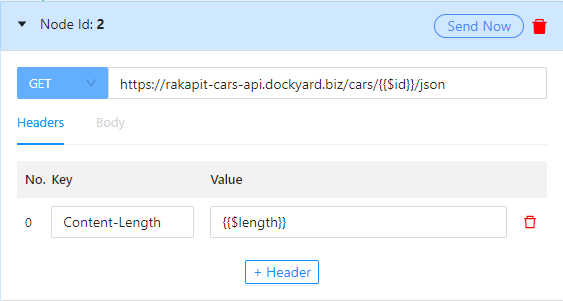
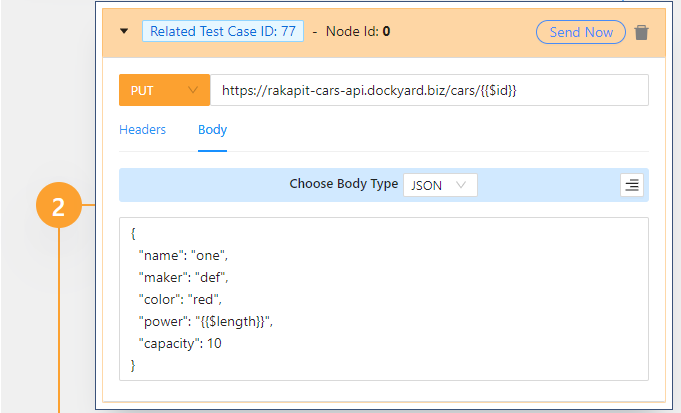
Use {{$variableName}} to refer to the defined Variables. You can refer to Variable in URL, Header and Body of Request.
Ex:
- URL: https://rakapit-cars-api.dockyard.biz/cars/ {{$id}}/json
- Headers:
- Body:
- After entering all the information, click 「Create」 button.
Editting Scenario
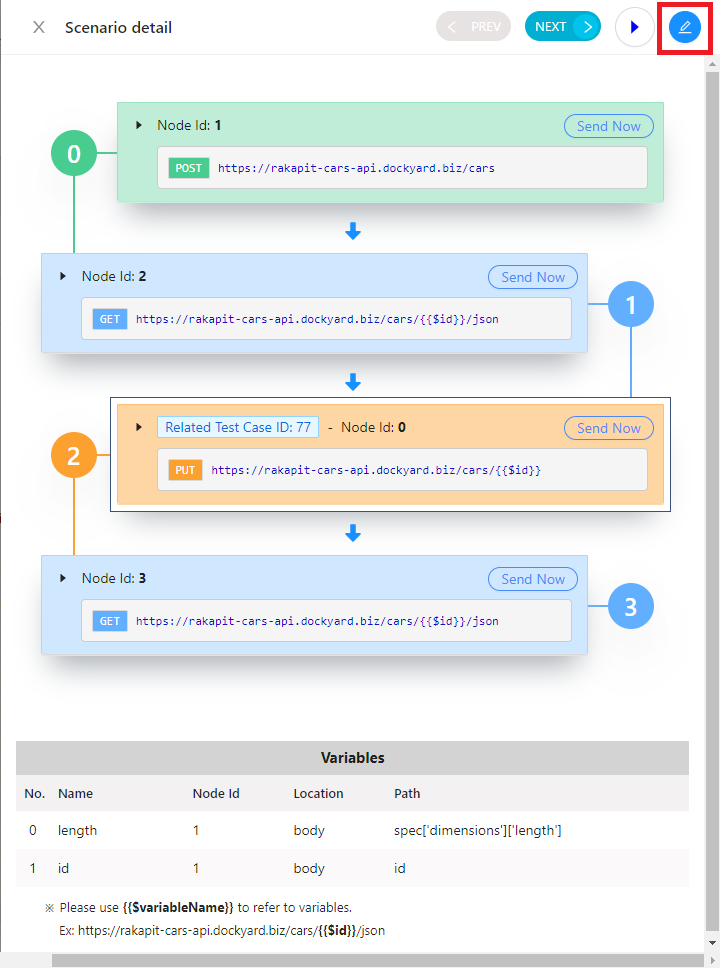
- Click View Detail icon in the Action column of the test case to open Scenario Detail drawer.
- To edit NodeId 0, click 「Edit Related Test Case」 button.
- Click icon 「Edit」 in Action column or Click the Edit icon at the top right of the Scenario Detail drawer.
- Edit Node and Variables information as needed.
- Click 「Save」 button
Executing Scenario
- Click Scenario icon in the Action column of the test case to open Scenario Detail drawer.
- Click Run button in header of drawer.
- Check the result after scenario run finish..
※Execution environment of Scenario (RakAPIt Server or Local Environment) will be the environment set on the Test cases screen.
Deleting Scenario
- Click Scenario icon in the Action column of the test case to open Scenario Detail drawer.
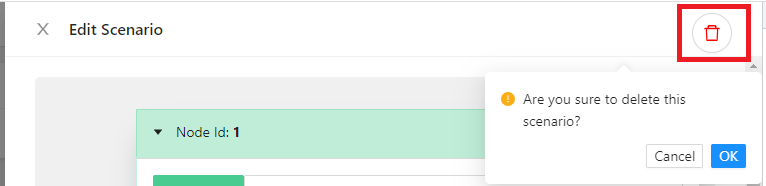
- Click the Edit icon at the top right of the drawer to switch to the editing drawer.
- Click DeleteDelete icon, then click 「OK」 button