Batch
Batch is created using suites of various Test Objects in the project. You can use Batch to run test cases from multiple Test Objects.
One project can contain up to 8 batches.
Batch Detail
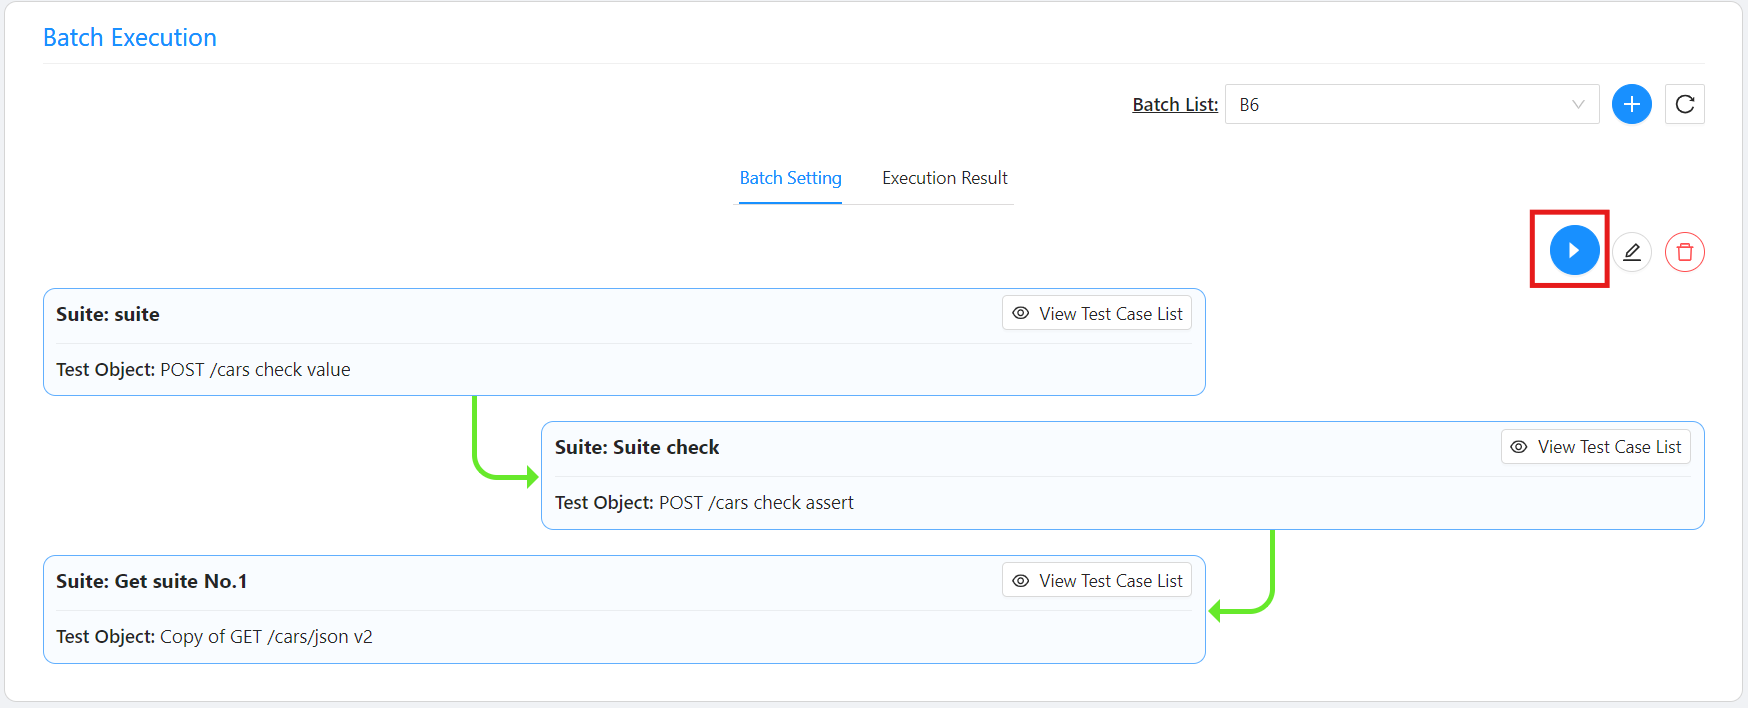
The Batch details screen displays the Batch suite list.
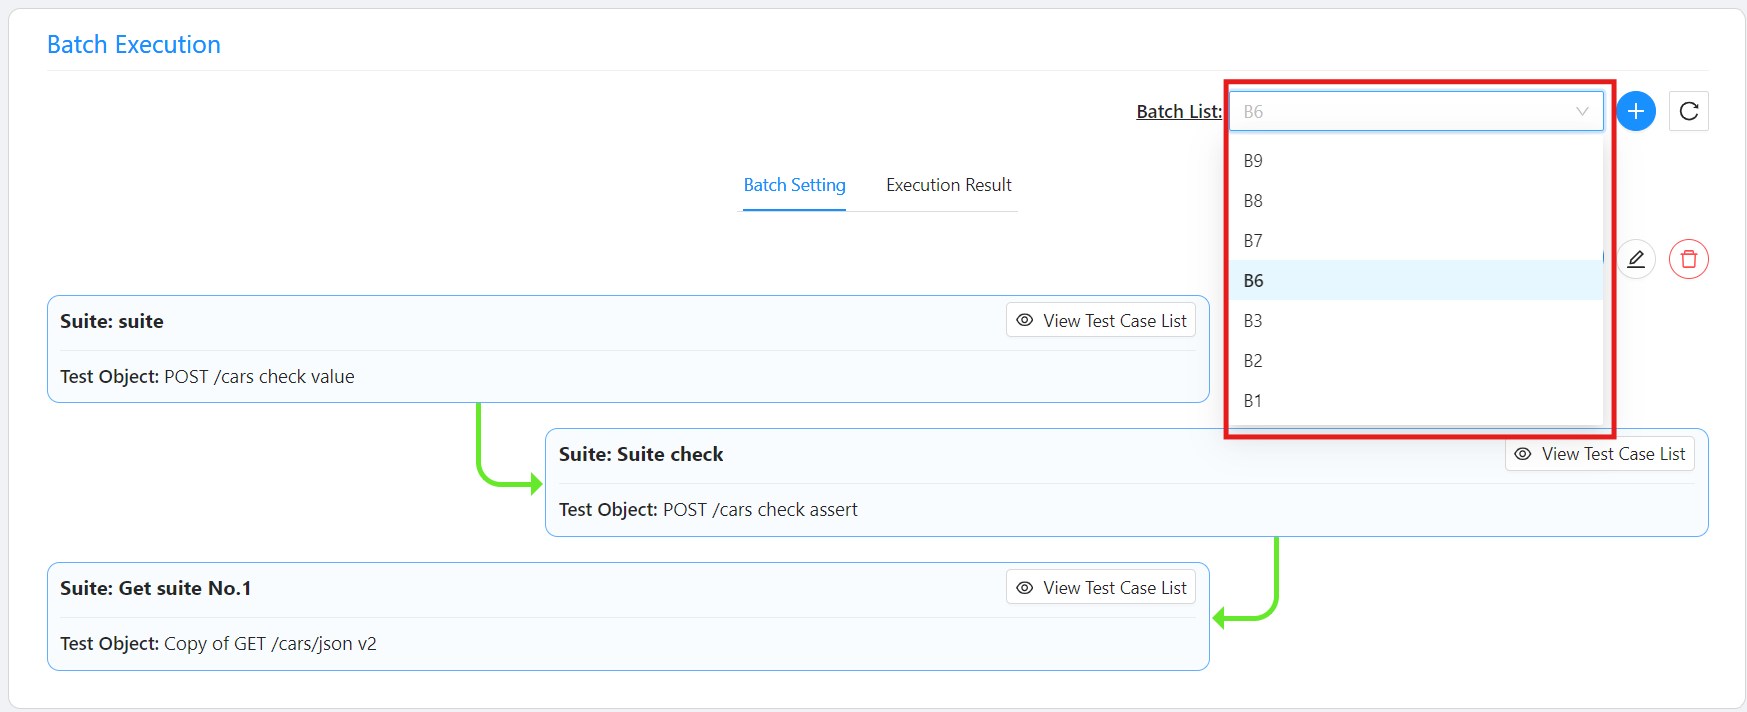
- To change batch, select the batch you want to display from the batch list.
- If you want to see the suite's test case list, press the Suite's "View Test Case List" button.

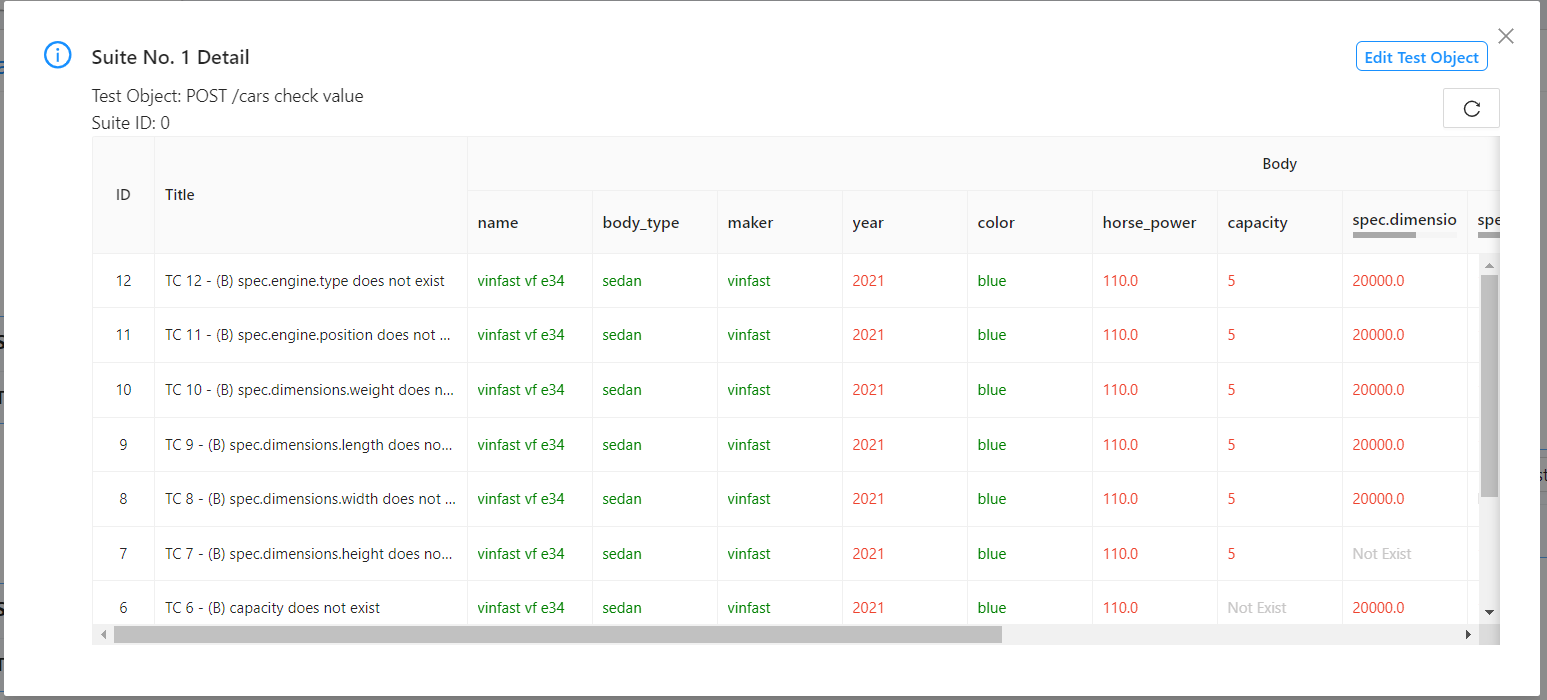
※Attention: If a Suite is deleted from a Test Object or a Test Object is deleted, the related Suite will be automatically deleted from the Batch Suite list.
Creating Batch
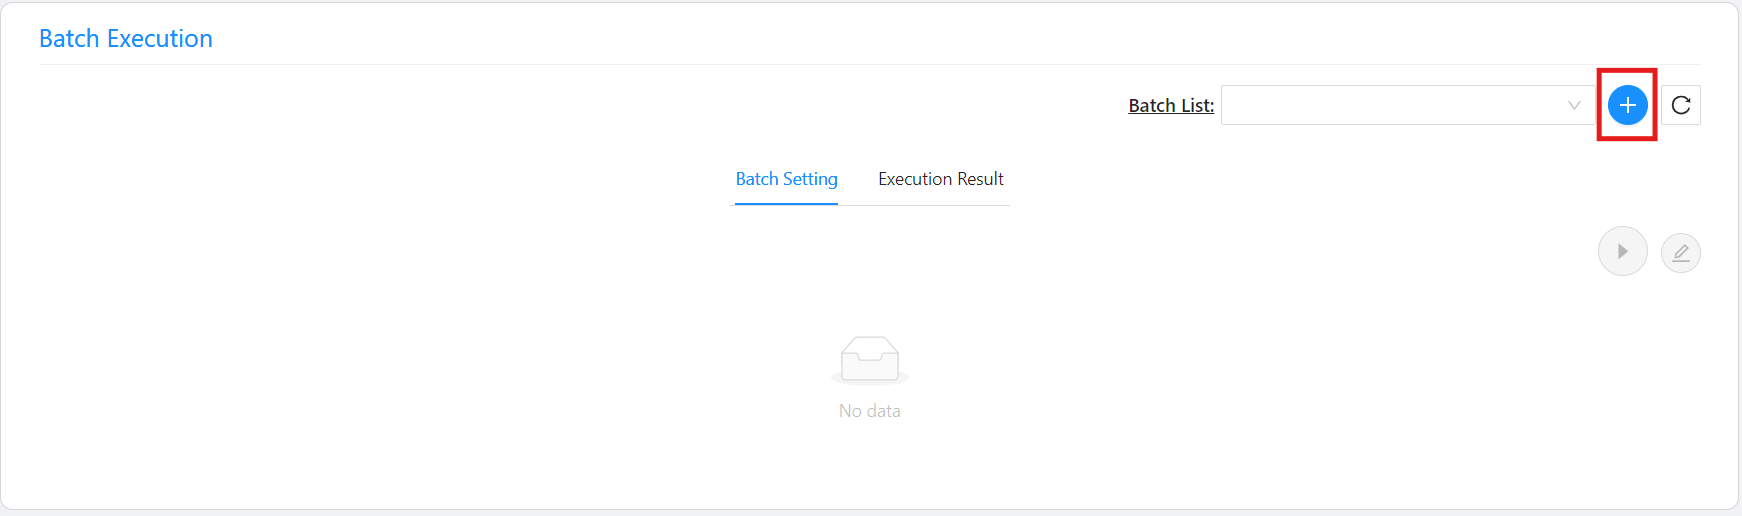
- Press the「+」button.
- In Batch creation screen.
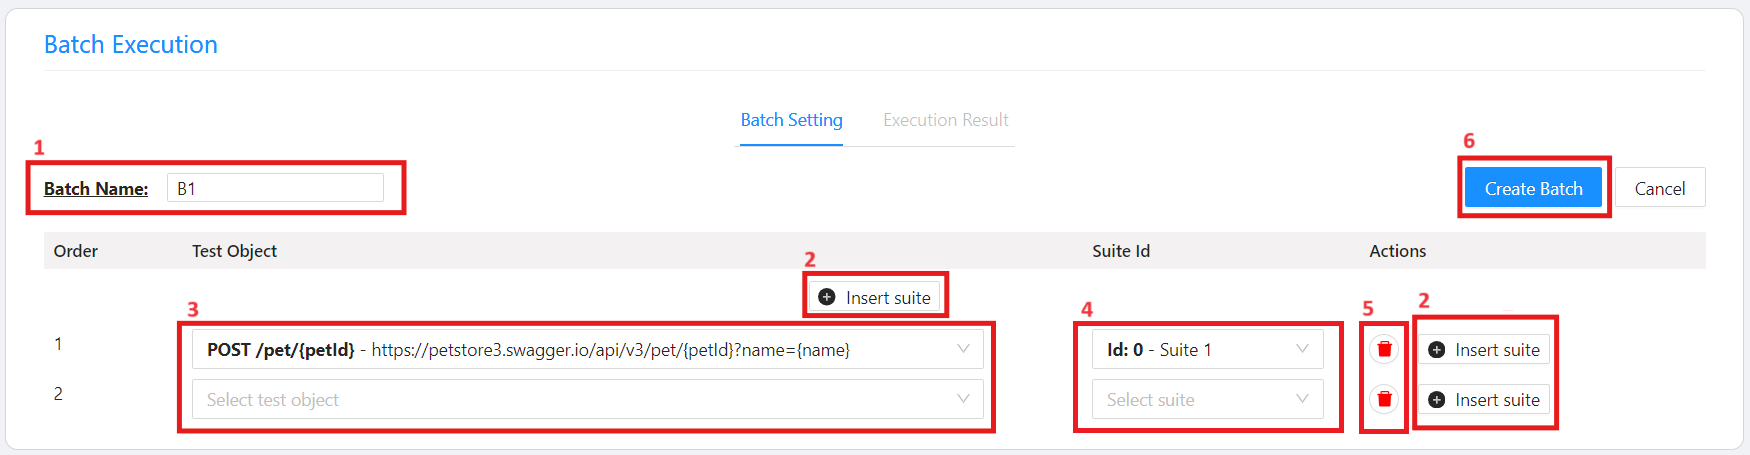
- Input the Batch name. (1)
- If you want to add a new Suite Selection, press the「Insert suite」button. (2)
(Max 16 Suite) - Select Test Object. (3)
- Select Suite. (4)
- If you want to delete Suite Selection, press the「Delete」button. (5)
- Press the「Create Batch」button. (6)
Editting Batch
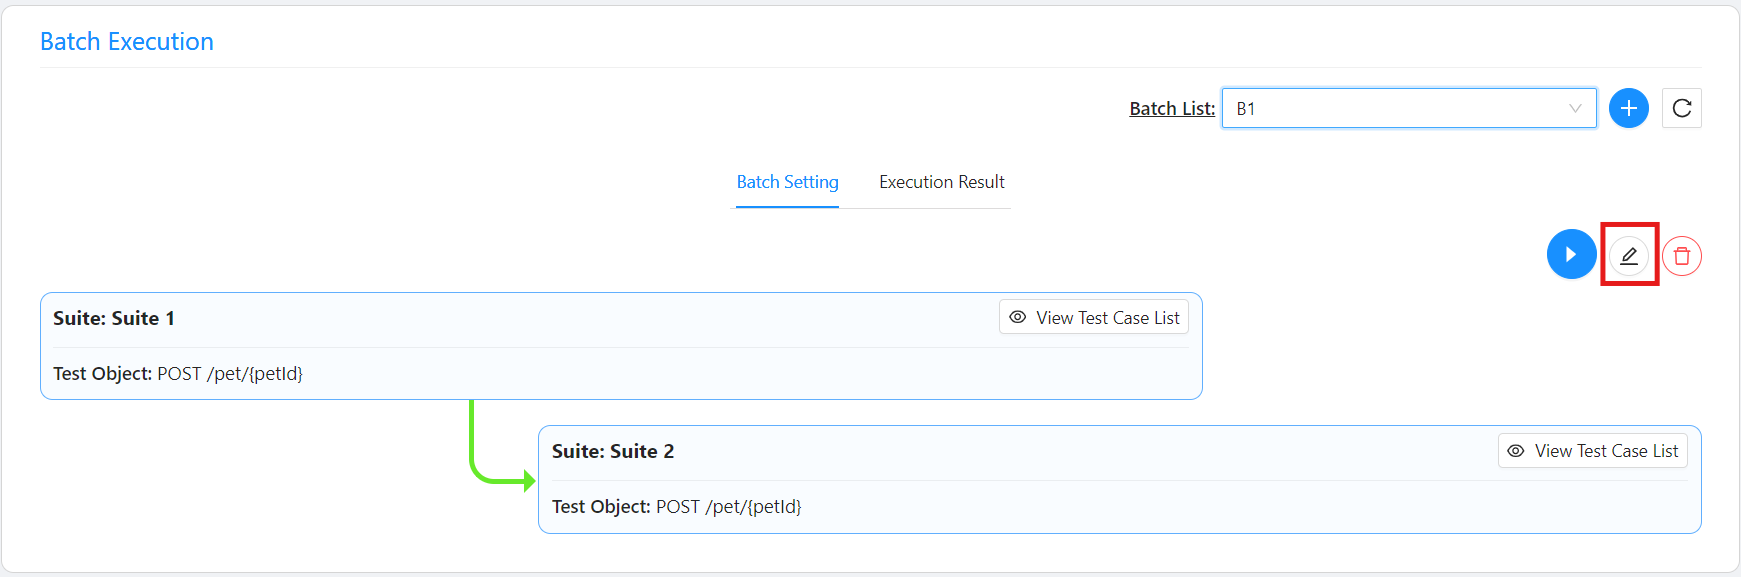
- Press the「Edit icon」button.
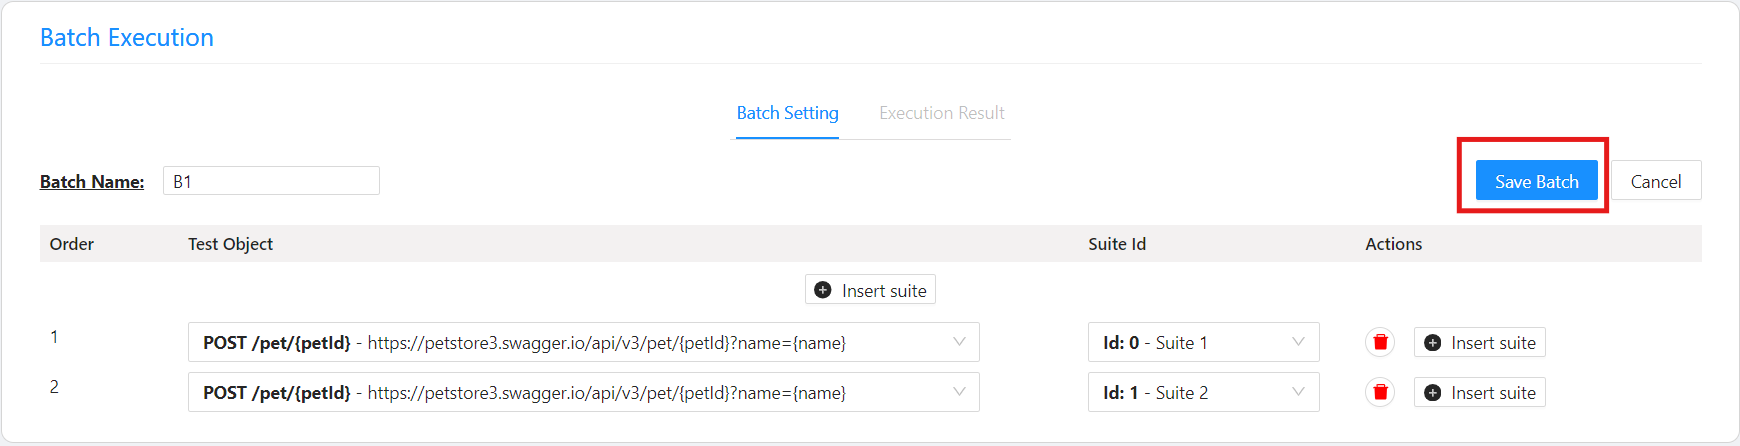
- On the Batch editing screen, edit as necessary, such as changing the name, changing the suite, adding a suite, or deleting a suite. The operation is the same as creating a batch.
- Press the「Save Batch」button.
Deleting Batch
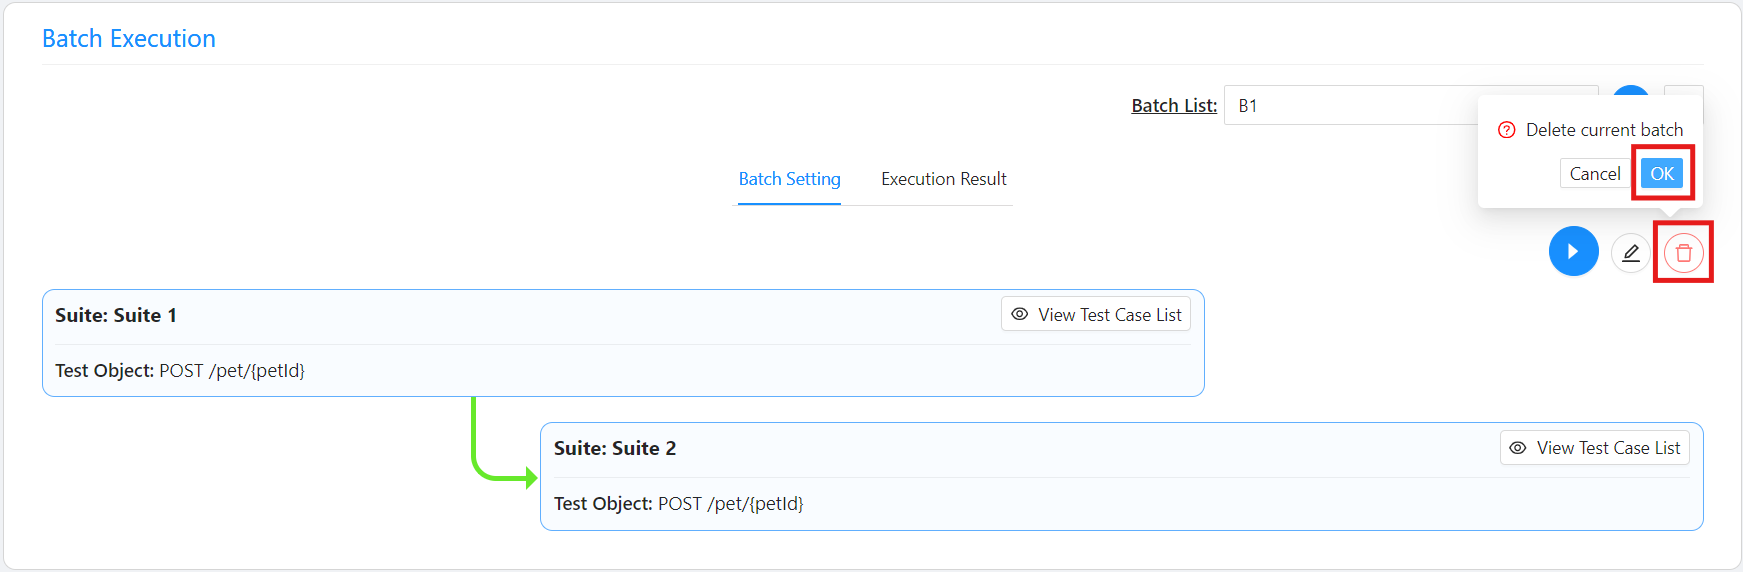
- Press the「Delete icon」button.
- Press the「OK」button.
Executing Batch
- Press the「Batch Execute」button to execute Batch.
- After Batch execution is complete, the tab will automatically switch to the「Execution Result」tab.
- In the「Execution Result」tab, you can see the Batch execution results.
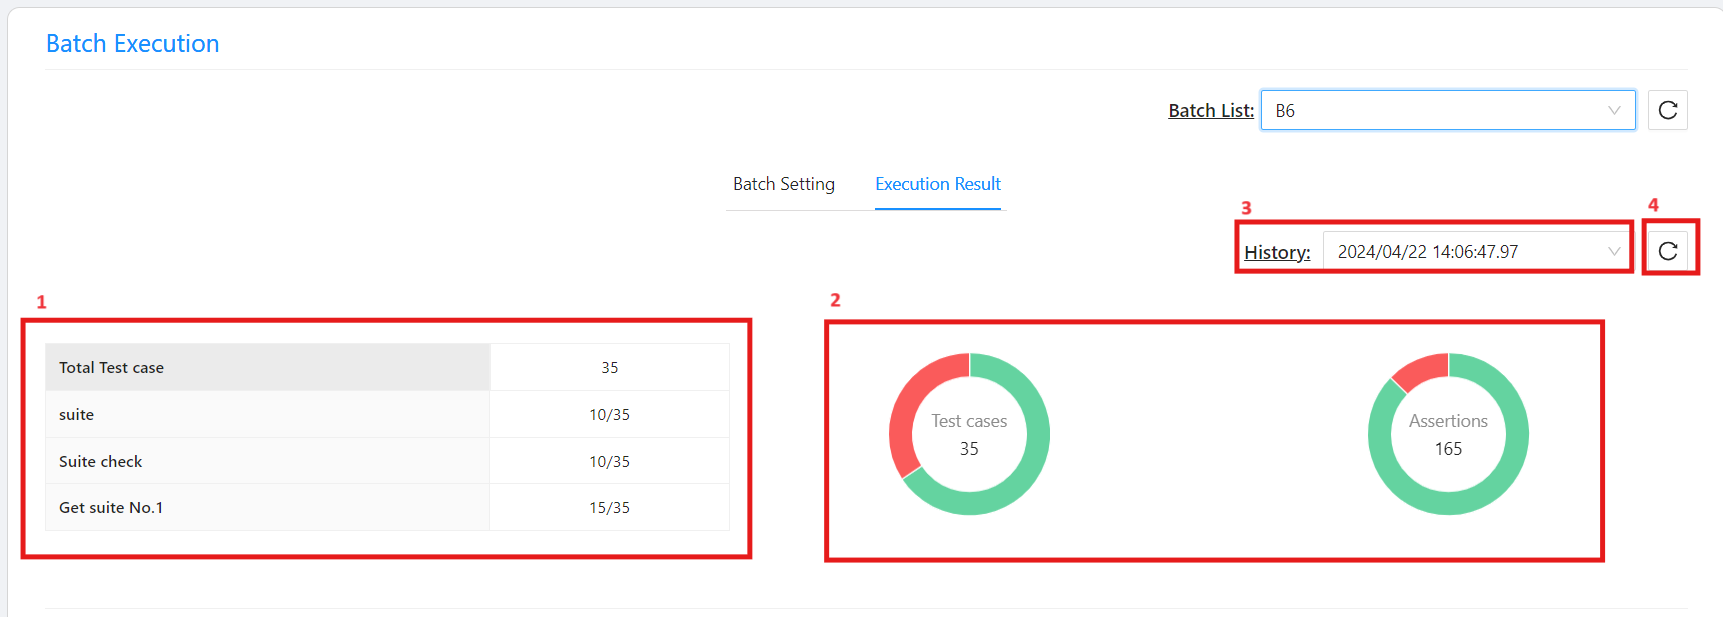
- Display the amount of test cases. (1)
- Display the graph of the results. (2)
- If you want to check older results, select the required History from the History list. (3)
- If you want to get the latest History list, press the 「Reload History List」button. (4)
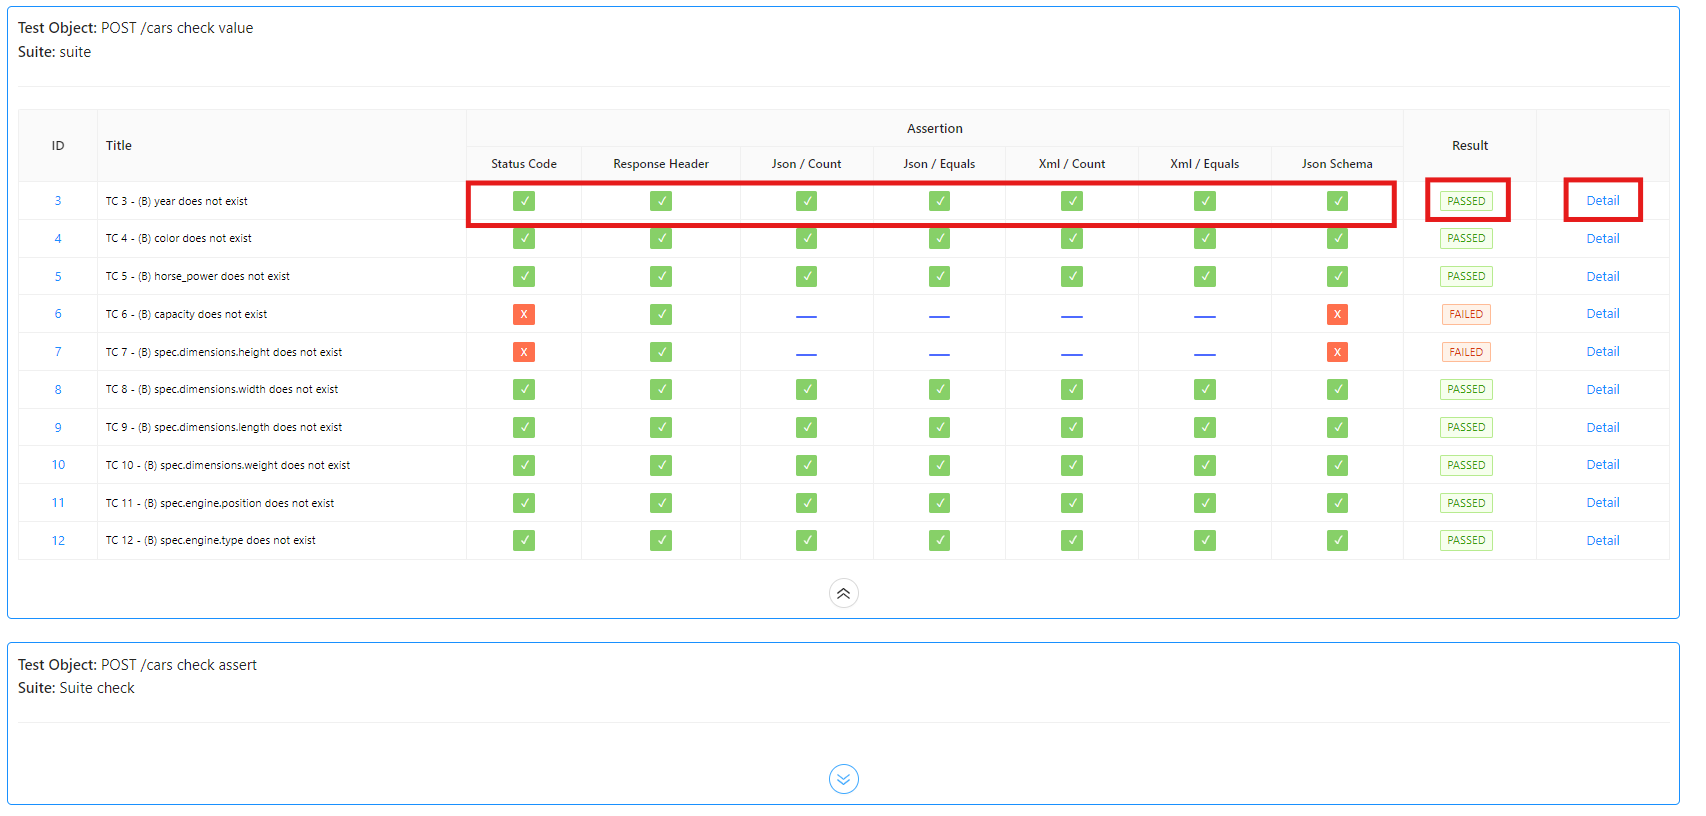
- In the result table of each suite, you can see the test case results in a list.
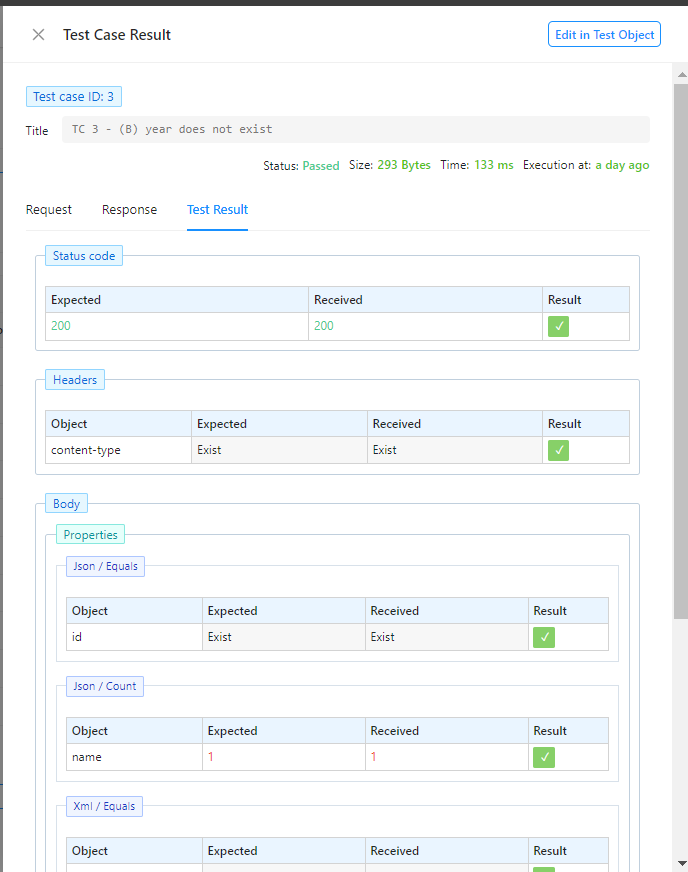
- To view the details of the test case, press「Detail」 to display the「Test Case Result」drawer.